-
Craft & creative
-
Advent calendar
-
Everything about molding
-
Everything about wood
-
Handicraft sets and tools
-
Poker work
-
Encaustic
-
Experiments
-
Colors & polish
-
Galvanizing
-
(Glass) Engraving
-
Kerzen gießen
-
Adhesives
-
Crib construction
-
Jigsaw
-
Soldering & welding
-
Model kits
-
Collector models
-
Sharpening
-
Writing instruments
-
Soap casting
-
teifoc stone building sets
-
Gilding
-
Tools & machines
-
Pouring tin - material and equipment
-
Advent calendar
slide 2 of 4


slide 1 to 4 of 4


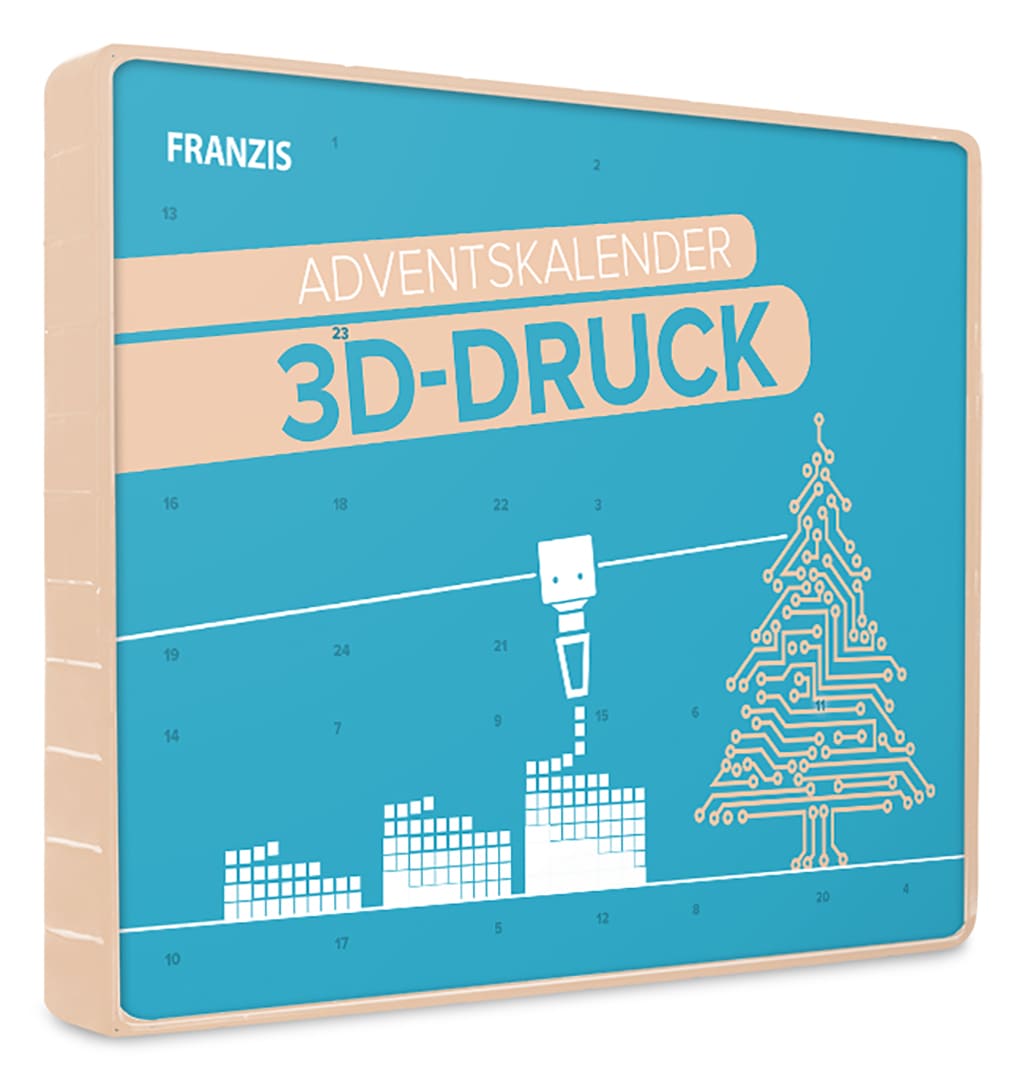
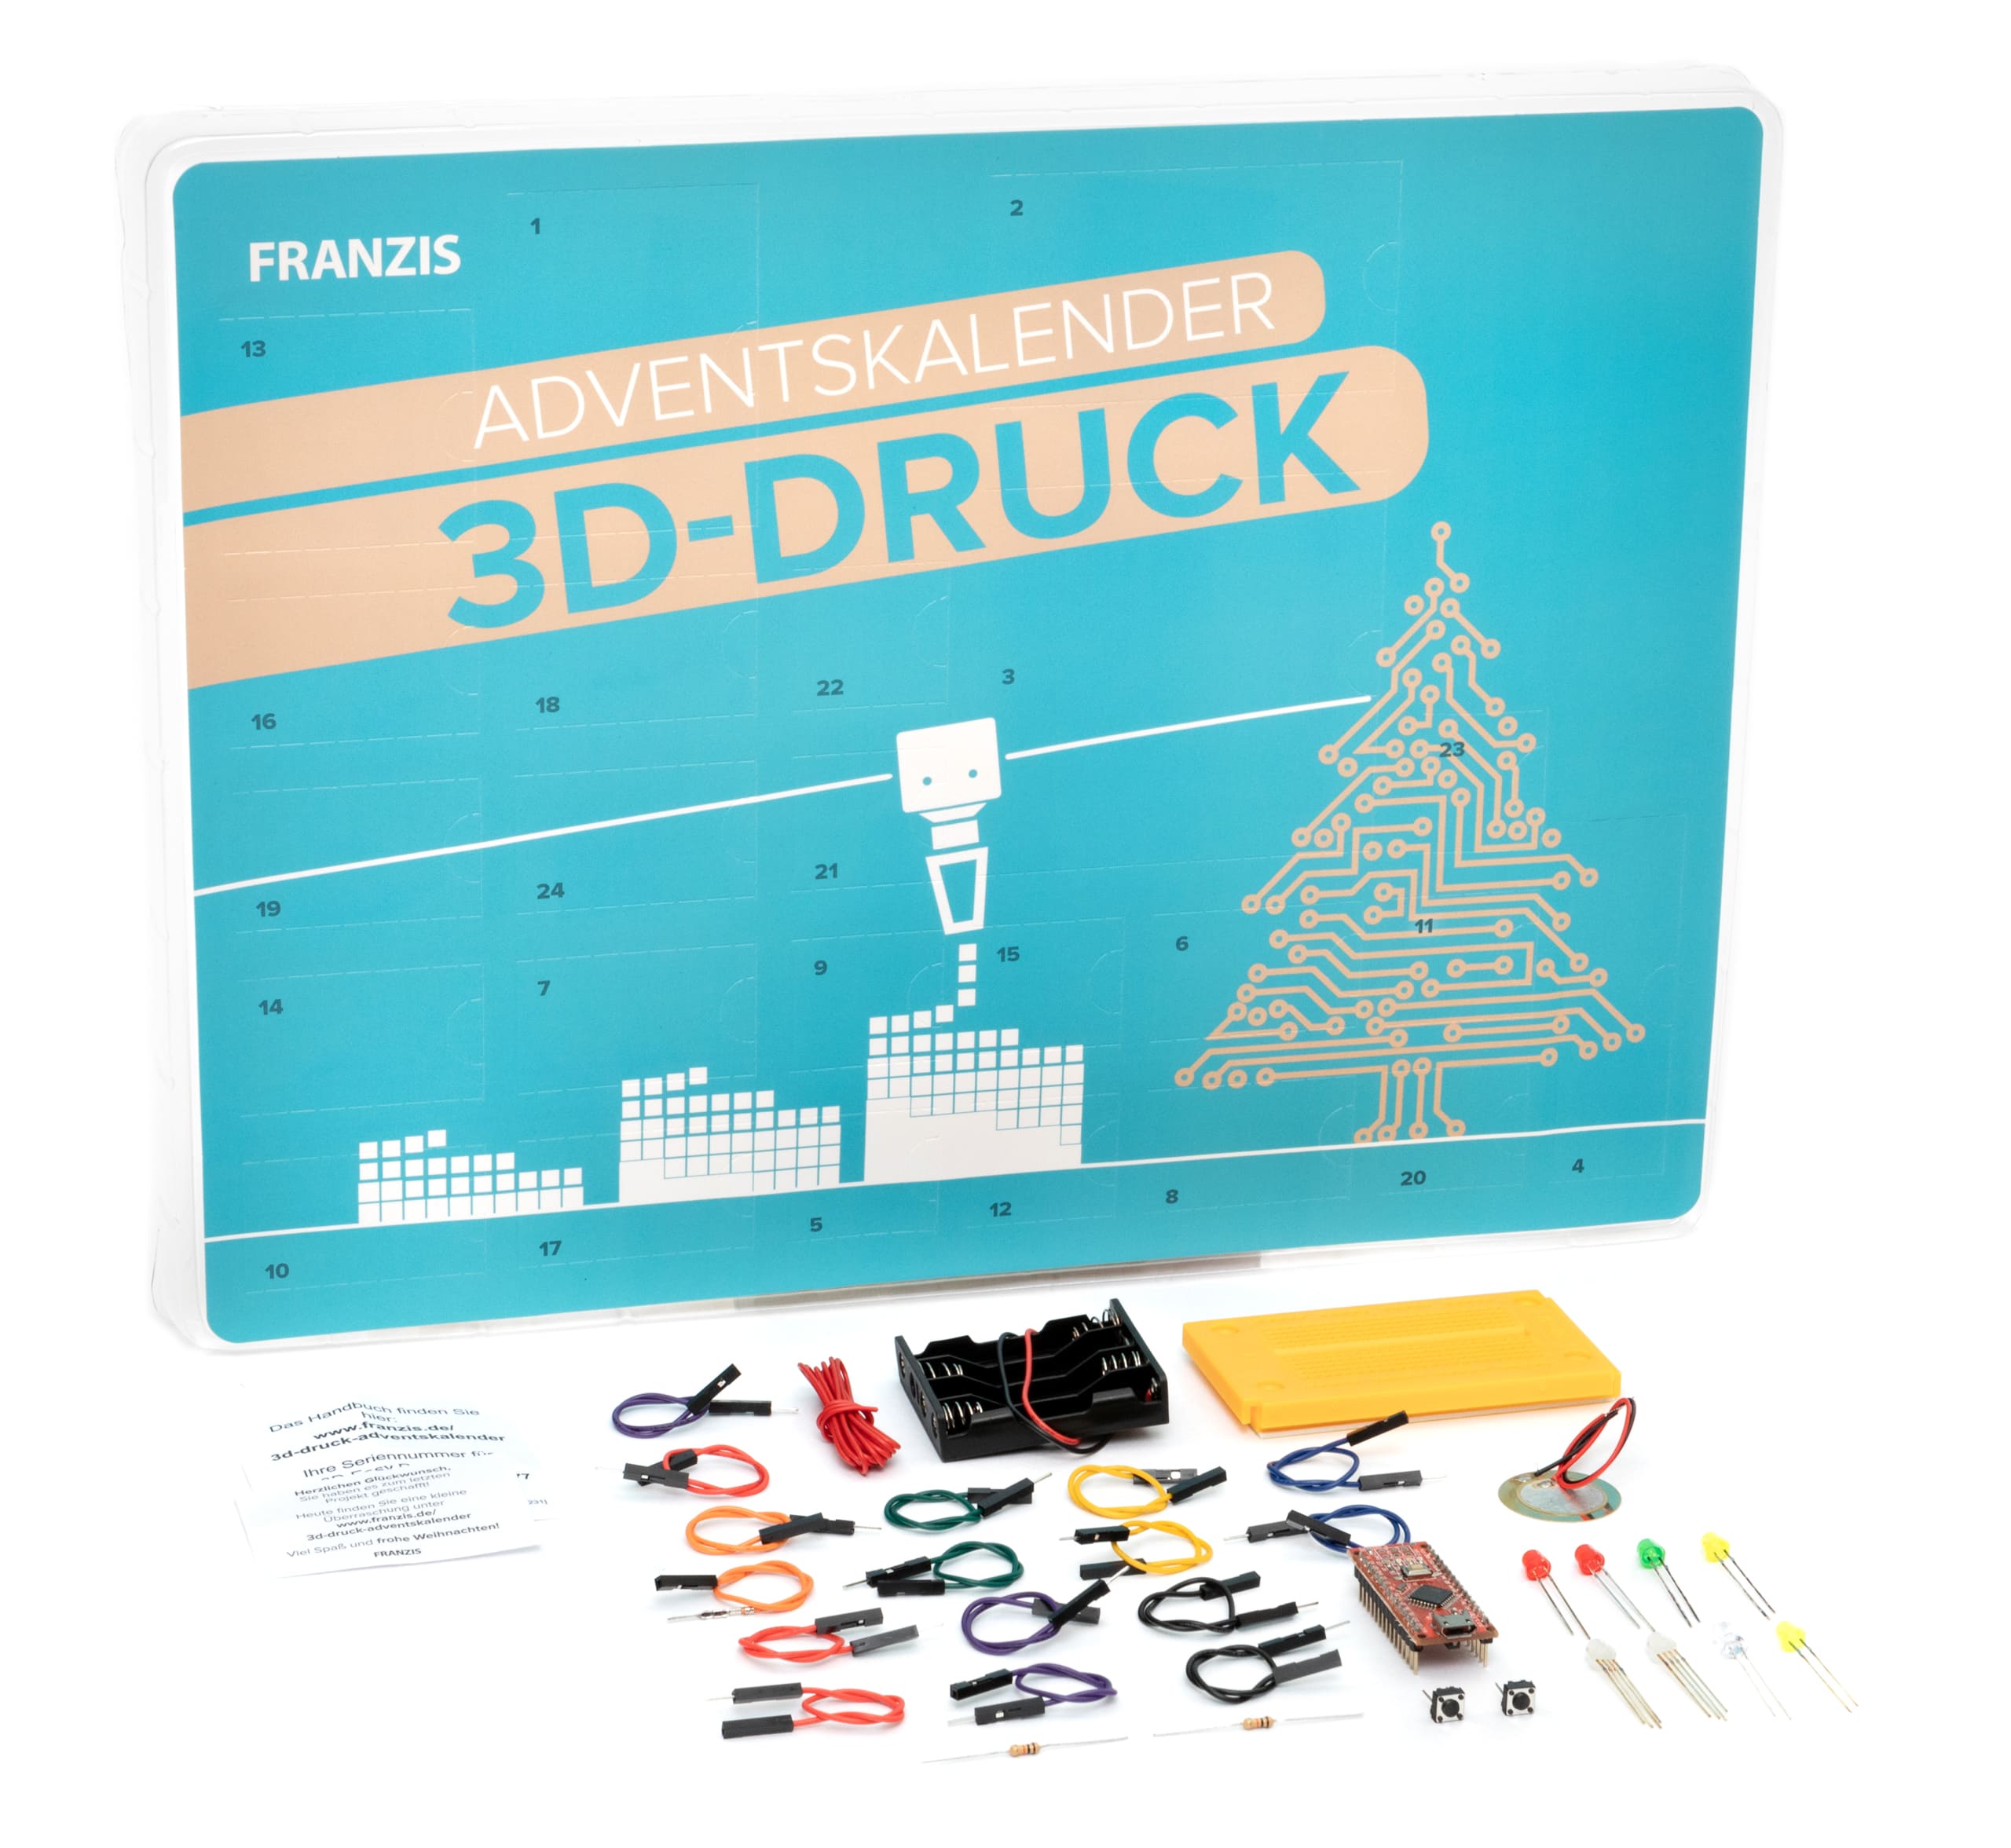
Advent calendar 3D print
Product number:
354730
Packaging Unit:
1
No longer available
Downloads
| Article name: | Advent calendar |
|---|---|
| Brand: | Franzis |
| Form: | 3D print |
Manufacturer Informations
Name: FRANZIS GmbH
Street: Richard-Reitzner-Allee 2
City: 85540 Haar
Country: DE
Email: info@franzis.de
Phone: +49 (0)89 25556-1000
0 of 0 reviews
Login
No reviews found. Be the first to share your insights.
Accessoires (optional)
slide 1 of 1
Article name:
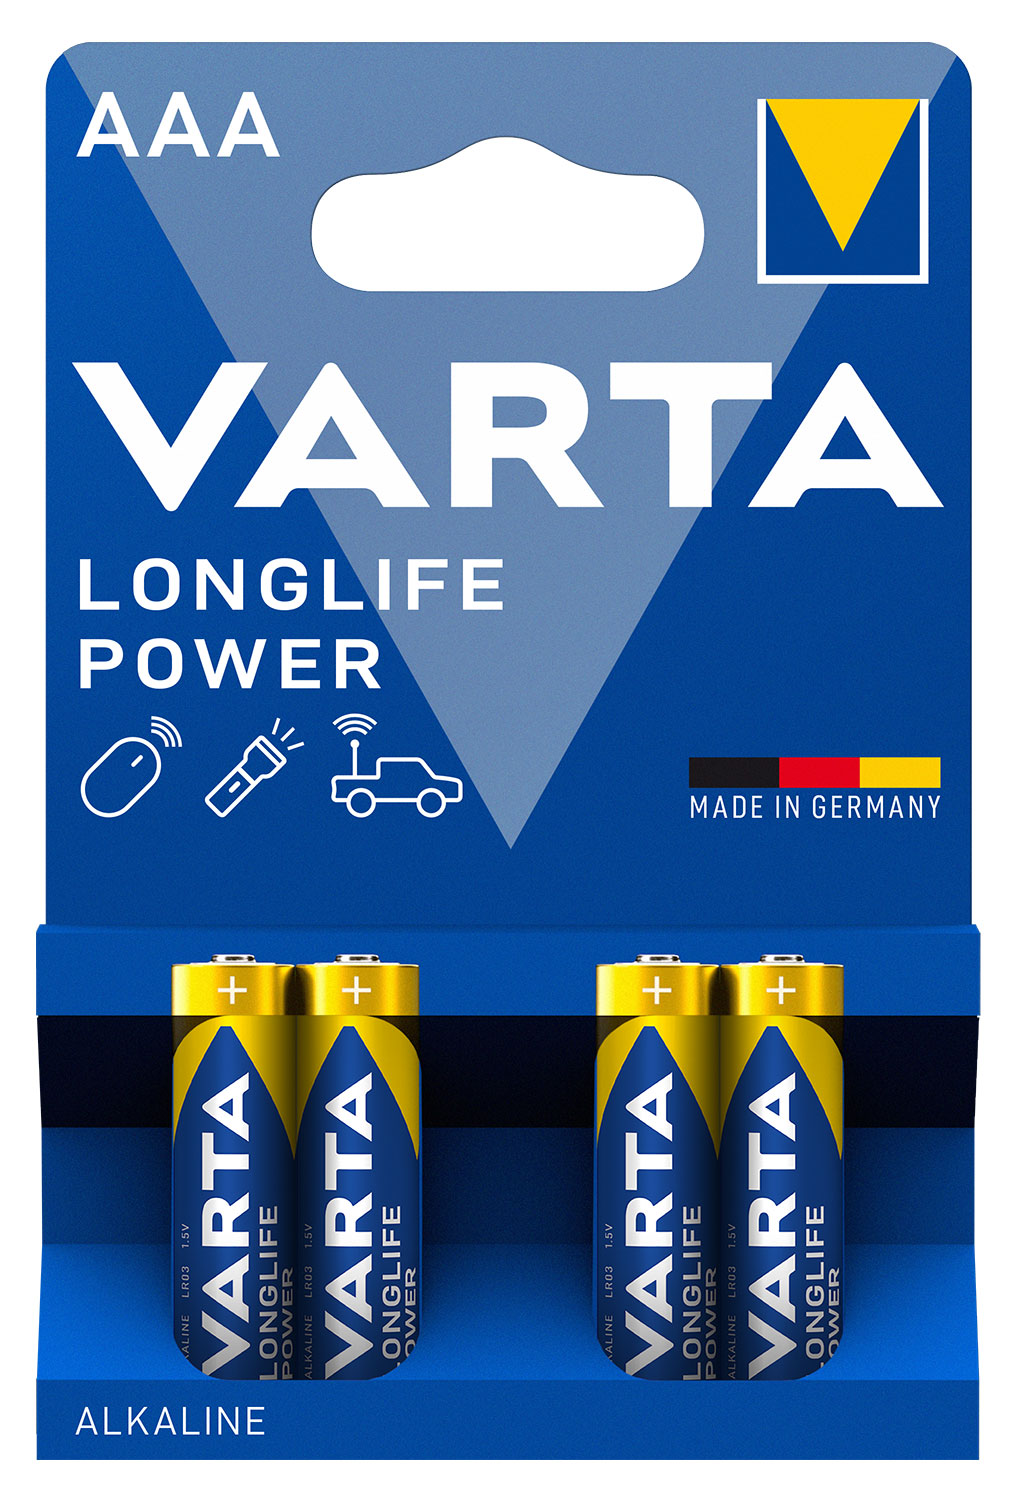
LR03
4 pieces in blister card for hanging
High Energy - Longlife Power!
Product information "Advent calendar 3D print"
With your 3D printer through the pre-Christmas period!
Welcome to your advent calendar! An exciting and fun project awaits you every day for the next 24 days. Download here the 3D printing design guides and the manual with all the instructions for the electronic circuits.
Here are the recommended links:
• Downloads required for the first day: https://transfer.franzis.de/adventskalender/67137-0_3D-Druck_fuer_Maker/T01_3D-Easy.pdf (see also the "Documents" tab) and https://transfer.franzis.de/adventskalender /67137-0_3D-Print_for_Maker/T01_3D-Easy_QuickStartGuide.pdf
• You can download the finished mBlock programs here: https://transfer.franzis.de/adventskalender/67280-3_3D-Druck_Adventskalender/67280-3_3D_AK_Programme.zip
• The fully constructed STL files can be found here: https://transfer.franzis.de/adventskalender/67280-3_3D-Druck_Adventskalender/STL/STL.zip
• Day 24 - Here you will find your little surprise: https://transfer.franzis.de/adventskalender/67280_Adventskalender_3D_fuer_Maker_Weihnachtslieder.zip
• 3D construction instructions: https://transfer.franzis.de/adventskalender/67280-3_3D-Druck_Adventskalender/67280-3_3D-Druck_Adventskalender_3D_Konstruktionanleitung.pdf
• 3D manual: https://transfer.franzis.de/adventskalender/67280-3_3D-Druck_Adventskalender/67280-3_3D-Druck_Adventskalender_Handbuch.pdf
• You can find comprehensive help here: https://www.franzis.de/FAQs-Technik-Adventskalender/3D-Druck-Adventskalender
With this comprehensive set you can create cool 3D objects in the run-up to Christmas. Behind the doors are 24 exciting tasks and lots of components. Thanks to the practical manual, no prior knowledge is required and the fun can begin immediately! With the "3D easy" software, great objects can be designed in the browser, which you can print out with your own 3D printer or have them printed using the integrated order function.
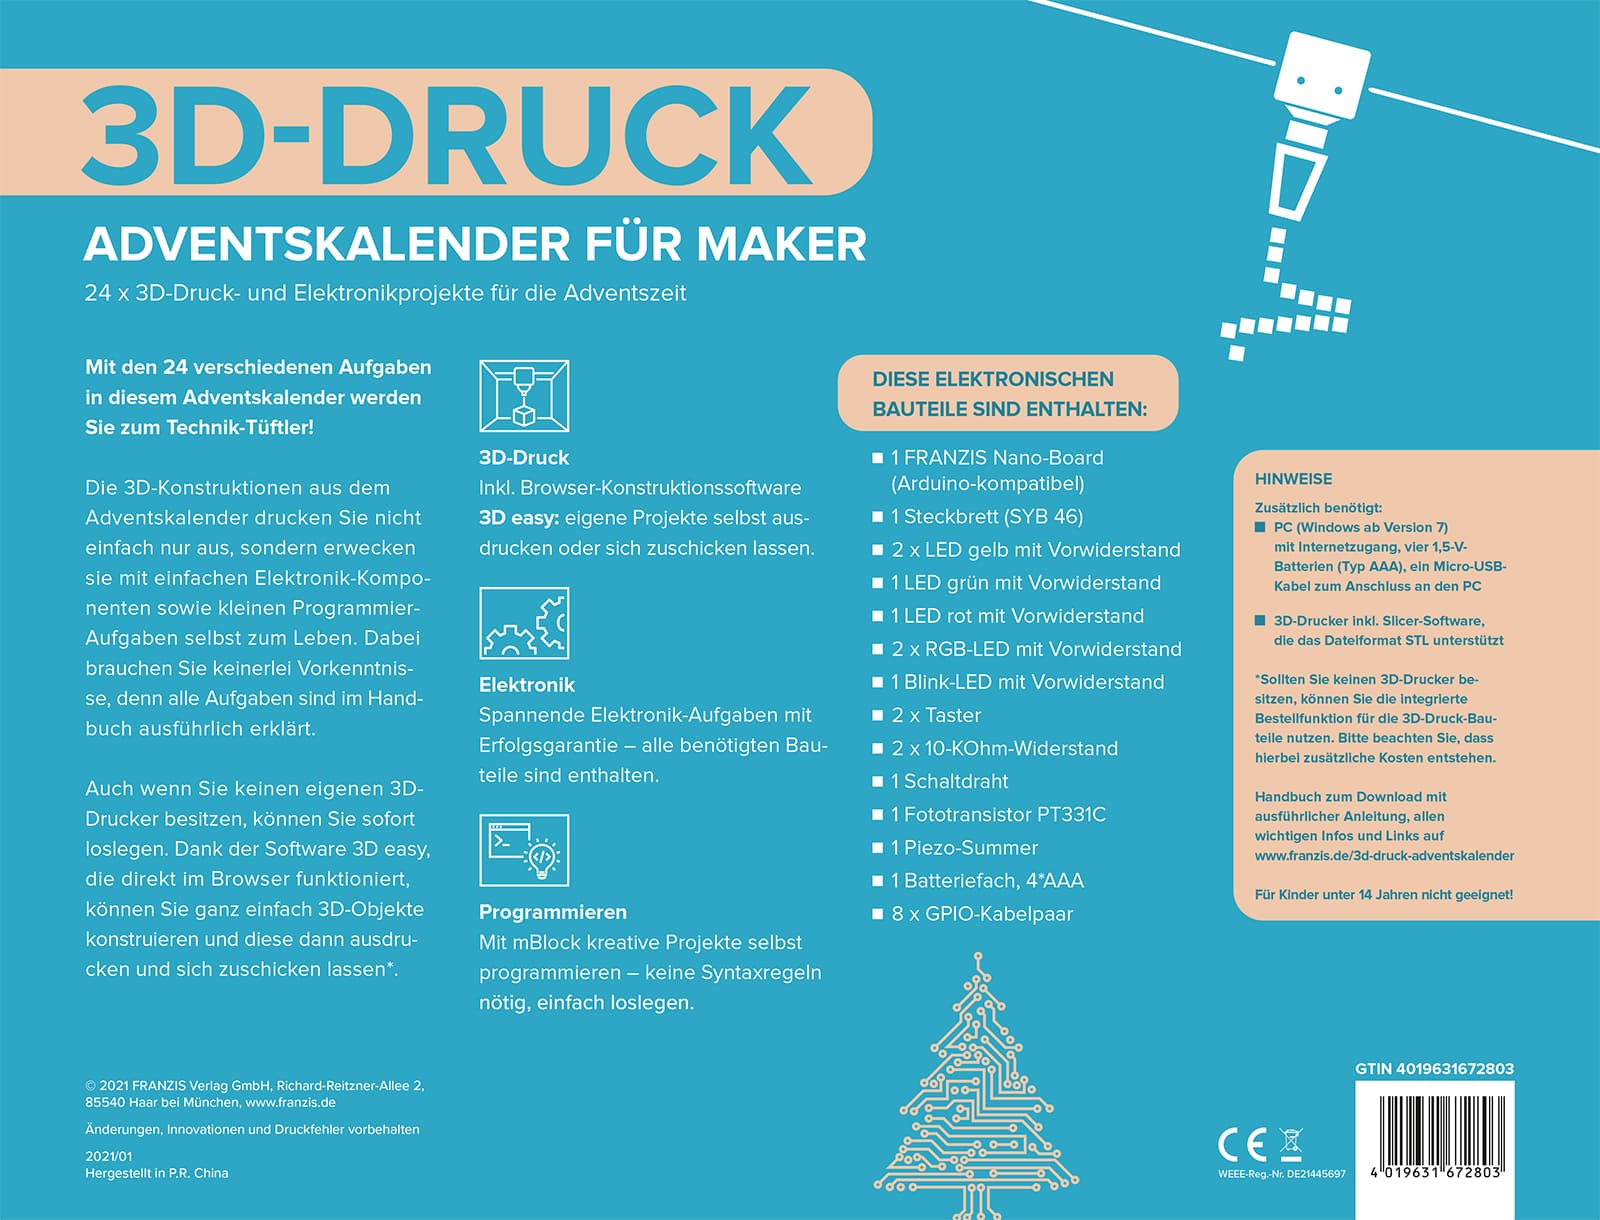
• 3D printing: Incl. browser design software 3D easy: print out your own projects or have them sent to you.
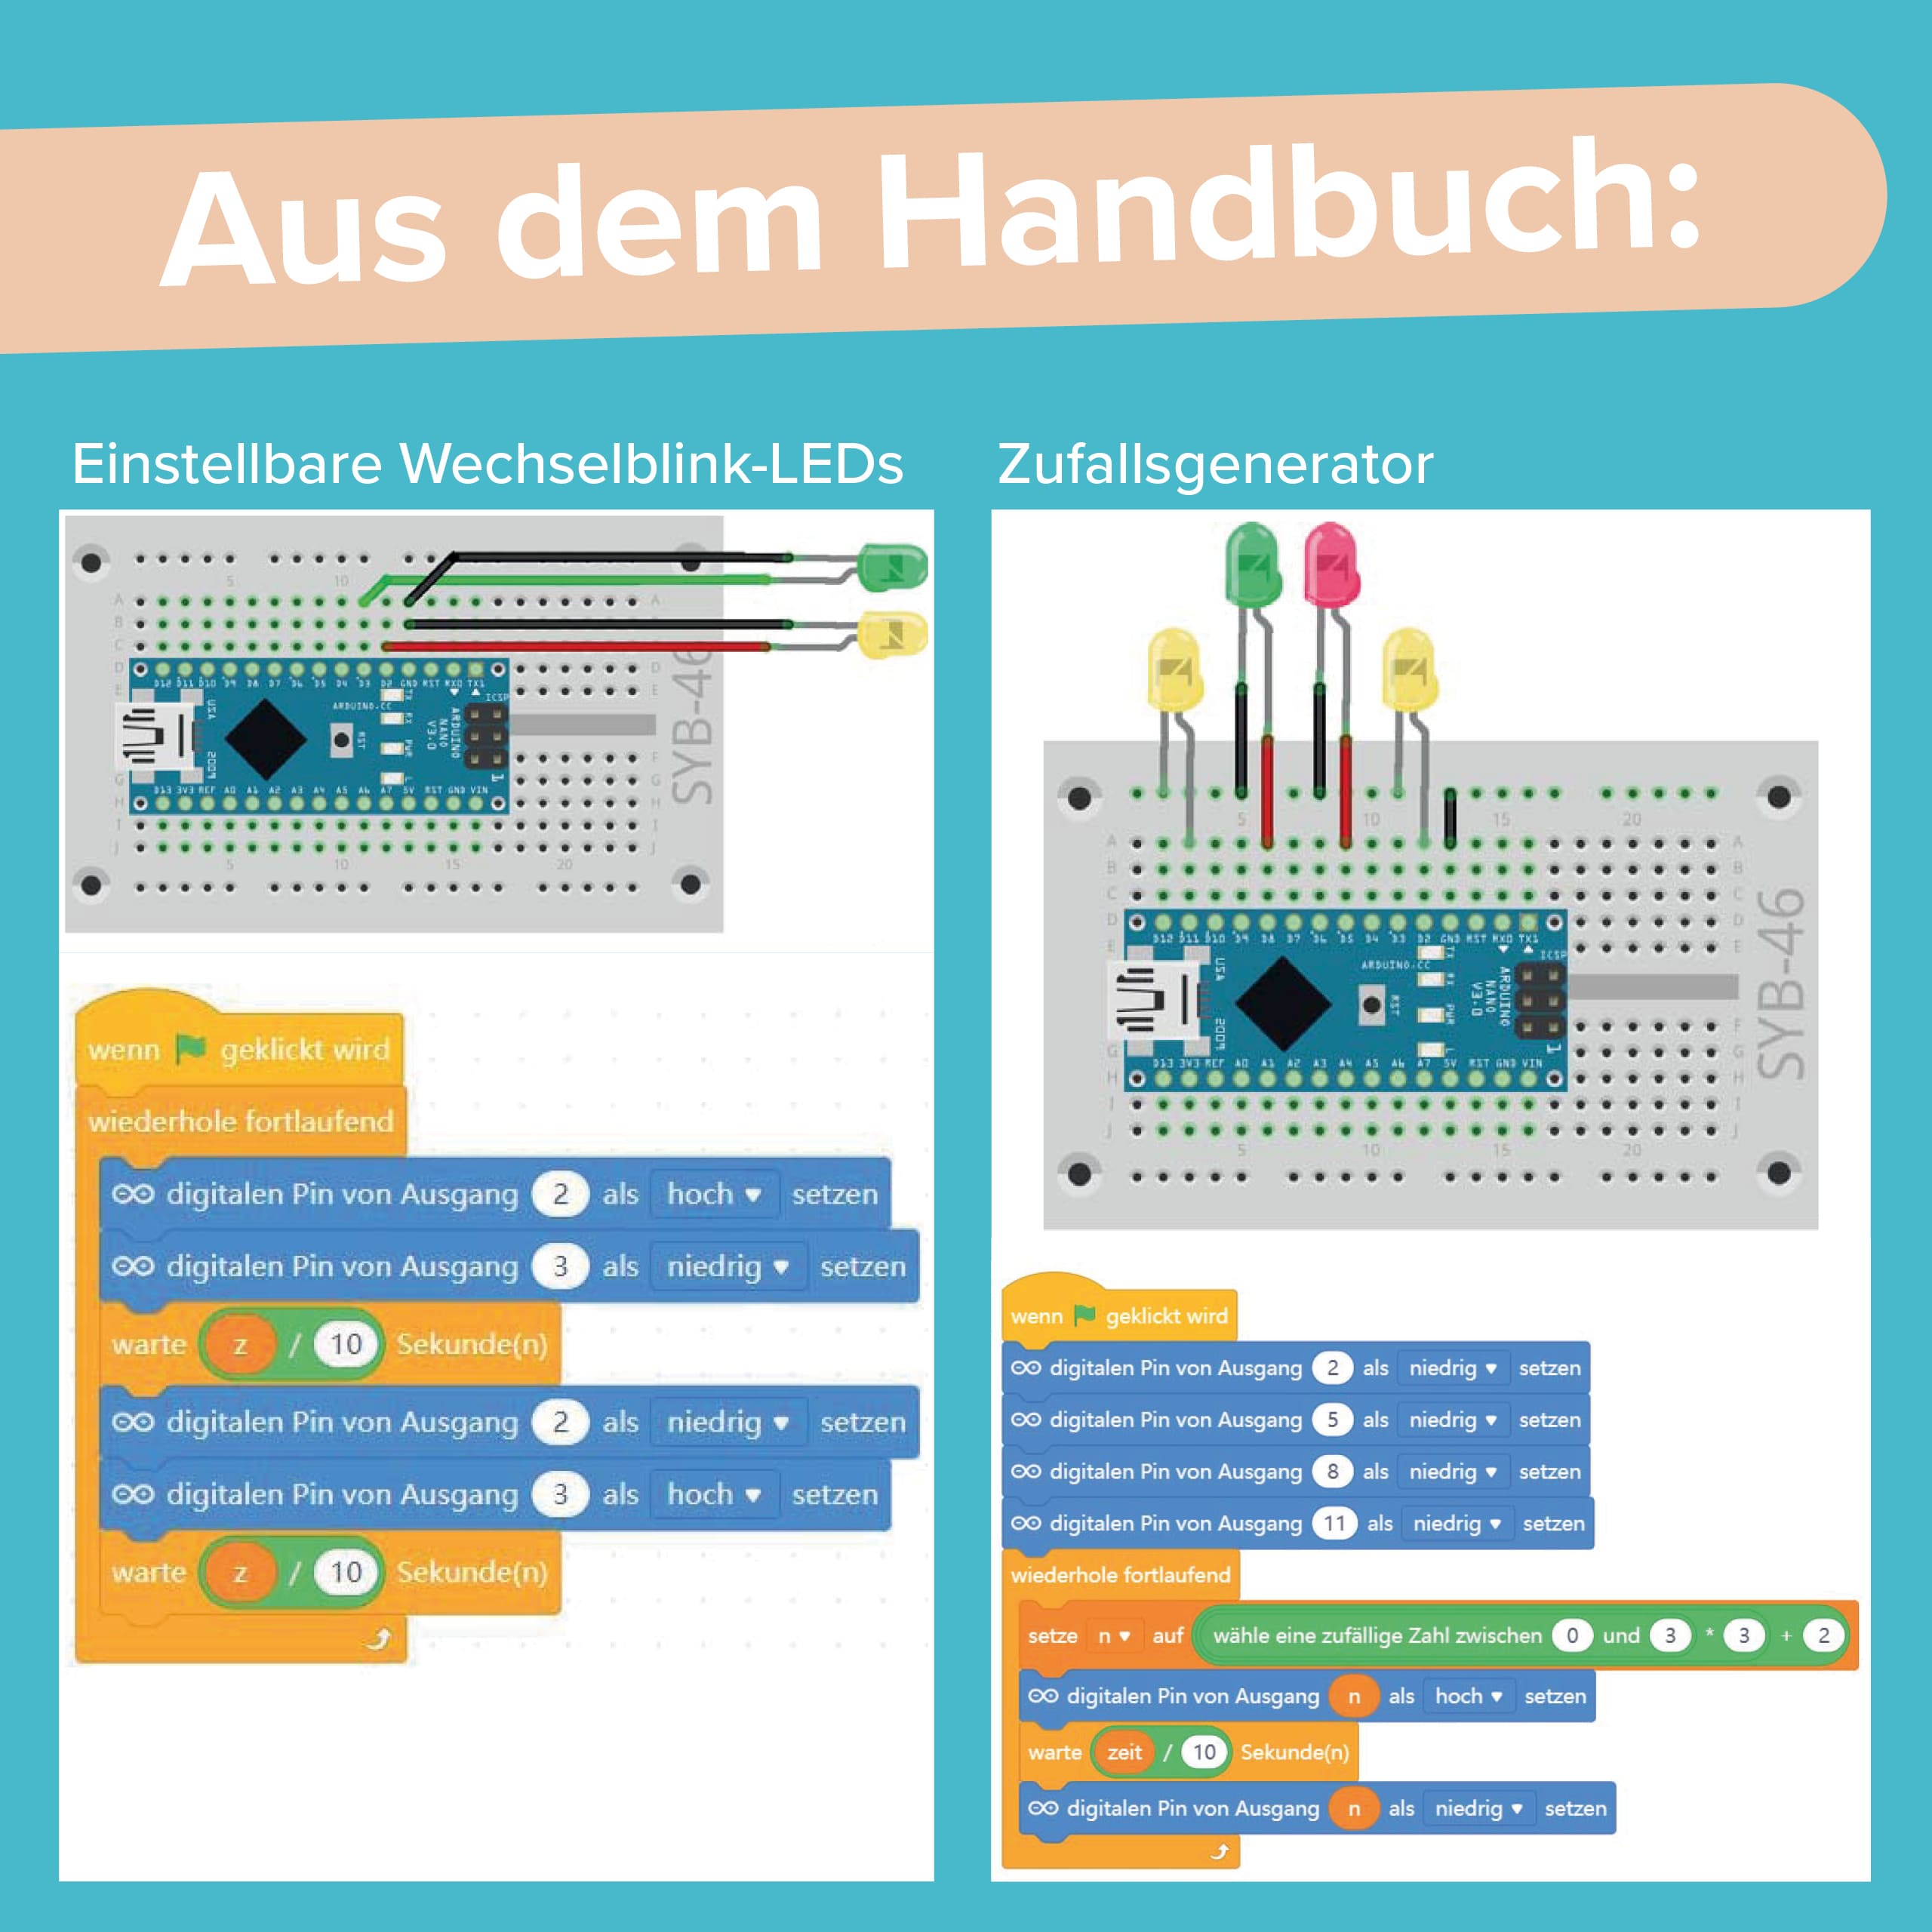
• Electronics: Exciting electronics tasks with guaranteed success – all required components are included.
• Programming: Program creative projects yourself with mBlock – no syntax rules necessary, just get started.
• With the 24 different tasks in this advent calendar you will become a technical inventor!
Details:
- Franzis - 3D printing advent calendar for makers
- with 24 great tasks
- "3D easy" software: construct 3D objects online, print them out and have them sent to you
- Electronics and programming tasks with guaranteed success
- All required components included
Also required:
- PC (Windows from version 7, Linux) with internet access
- Micro-USB cable for connection to the PC
- 3D printer including slicer software that supports the STL file format
- if you do not have a 3D printer, there is an order function. This incurs additional costs
4 x Micro (AAA) batteries (LR03) are required. (Order directly under our reference 2625010)
Recommended for ages: 14+
HELP, IT'S NOT WORKING!
You have everything set up, but your attempt doesn't work? Here are a few tips:
Look closely at the circuitry for each experiment. It is important that the electronic parts sit exactly where they are on the drawing. Otherwise it can happen that no current flows. It is best to use the letters and numbers that designate the individual holes as a guide. Some components stay in place for a long time. But sometimes they change their position. A lot of attention is required here. So check carefully every day.
Check that all components are properly seated in the breadboard! If the parts are not inserted firmly enough, no current can flow.
With LEDs it is important that they are connected in the right direction. The two connection wires of an LED are of different lengths. The longer one is the positive pole, the anode, the shorter one is the cathode. Easy to remember: the plus sign has one more line than the minus sign, making the wire a little longer. Also, most LEDs are flattened on the minus side, comparable to a minus sign. Easy to remember: cathode = short = edge.

