-
Tools/supplies
-
Drilling, polishing, grinding
-
Turning
-
Facilities, compressed air and vacuum
-
Goldsmith special tools/GRS
-
Small tools
-
Soldering, melting, casting, welding
-
Measuring and testing
-
Surface treatment
-
Clean, dry, turning, sawing
-
CAD-software / software
-
Watchmaker tools
-
Castles from
-
Band service
-
Insertion apparatus
-
Mainspring
-
Case opener and-closer
-
Glass service
-
Oil, oils, fats
-
Driving and rivets
-
Movement holder for small watches
-
Cone roller burnishing equipment
-
Hand tools
-
Tool kit for the watch service
-
Tool assortments
-
Other small clock tools
-
A wave cut machine
-
Entroster
-
Small watches Bergeon intervention circle
-
Calibre-specific special tools
-
Milling cutter
- Speed adjustment
-
Vacuum holder
-
Crowns/lift tools
-
Assembly documents
-
Montagehilfen
-
Multi-Pressstock
-
Repair Instruments
-
Protection films
-
Tools for pushers + tubes
-
Tools for screw machining
-
Tool for hand feeding
-
Cone round off/PIN setting device
-
PIN drill machines
-
Zifferblattwerkzeug
-
Accessories for the watch service
-
A wave cut machine
-
Other large clock tools
-
Spezialwerkzeuge für Rolex
-
Zifferblatt Fräsvorrichtung
-
Castles from
-
Sales and workshop tools
-
3D Werkzeuge & Reinigung
-
Drilling, polishing, grinding
slide 3 of 2


slide 1 to 2 of 2


Concentricity tester f. wheels
Product number:
235803
Packaging Unit:
1
No longer available
| Article name: | Concentricity tester f. wheels |
|---|---|
| Brand: | Bergeon |
| Catalogue item No.: | 30059-1 |
| Gross weight grams: | 2.150 |
Manufacturer Informations
Name: Rudolf Flume Technik GmbH
Street: Hachestr. 66
City: 45127 Essen
Country: DE
Email: info@flume.de
Phone: 0049-201-18990
0 of 0 reviews
Login
No reviews found. Be the first to share your insights.
Product information "Concentricity tester f. wheels"
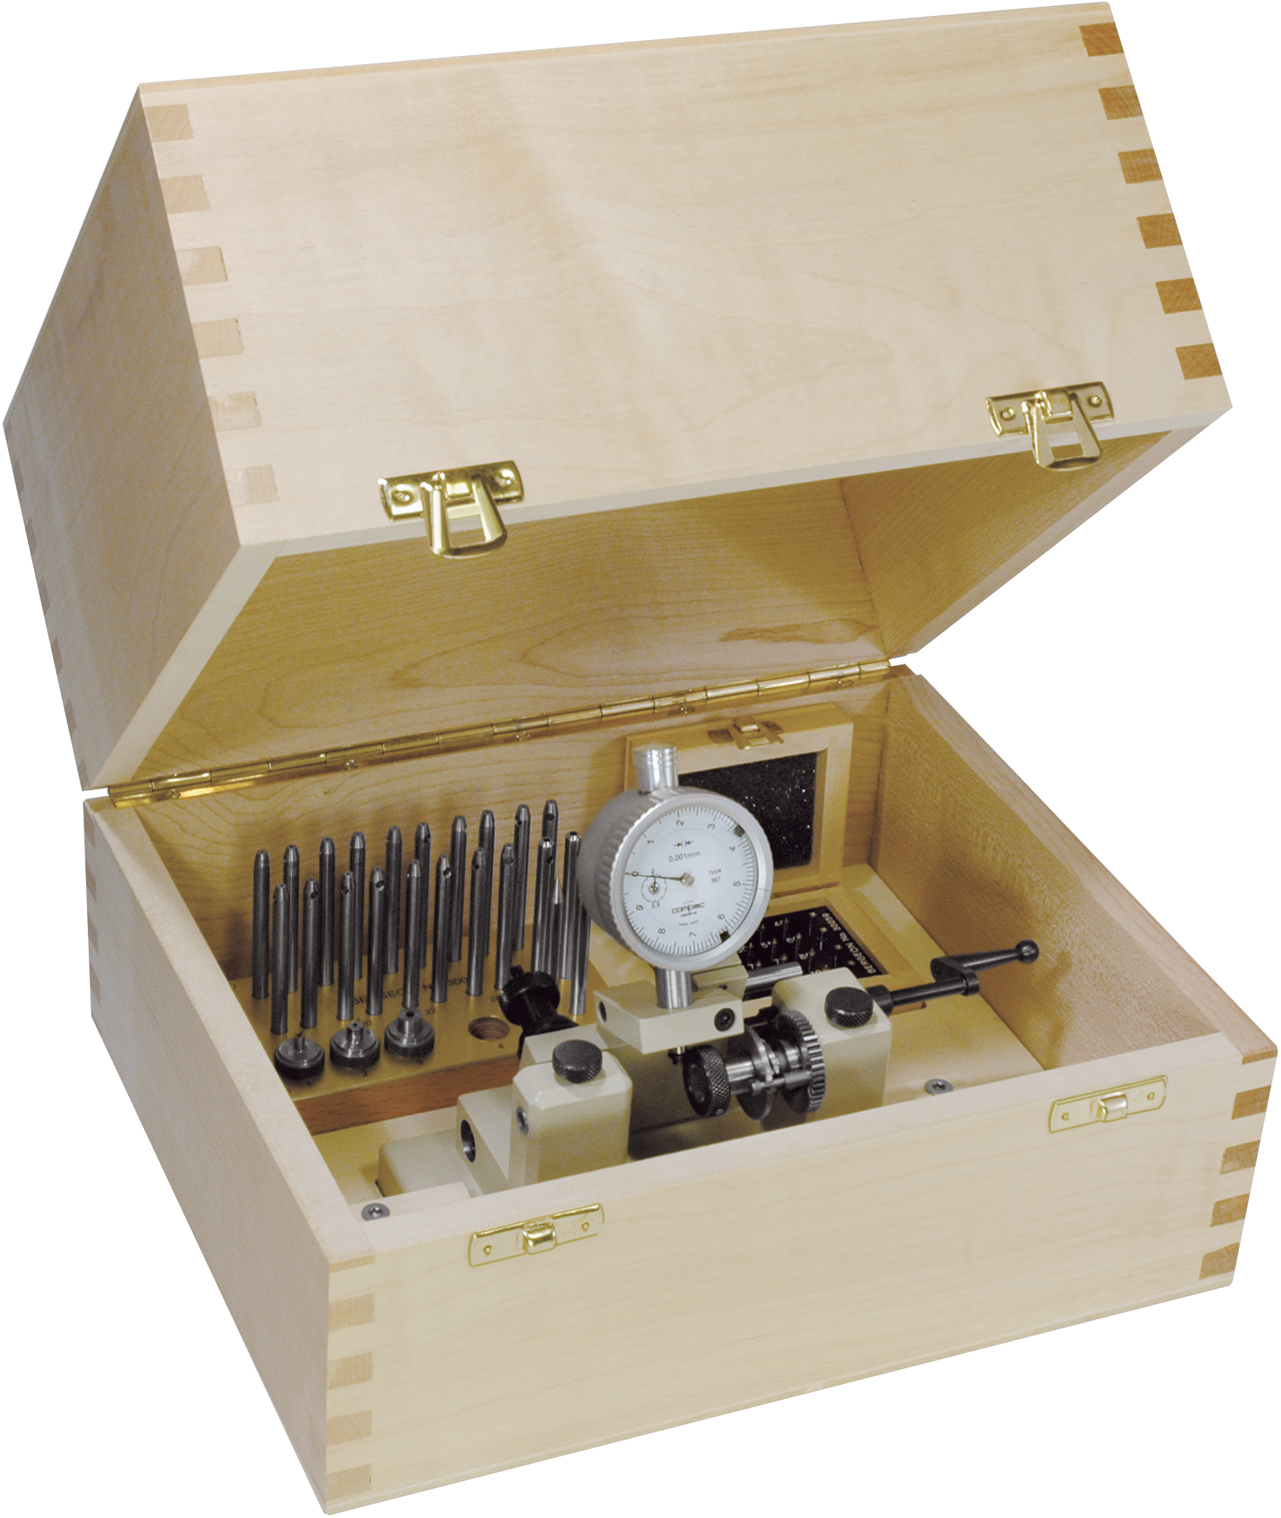
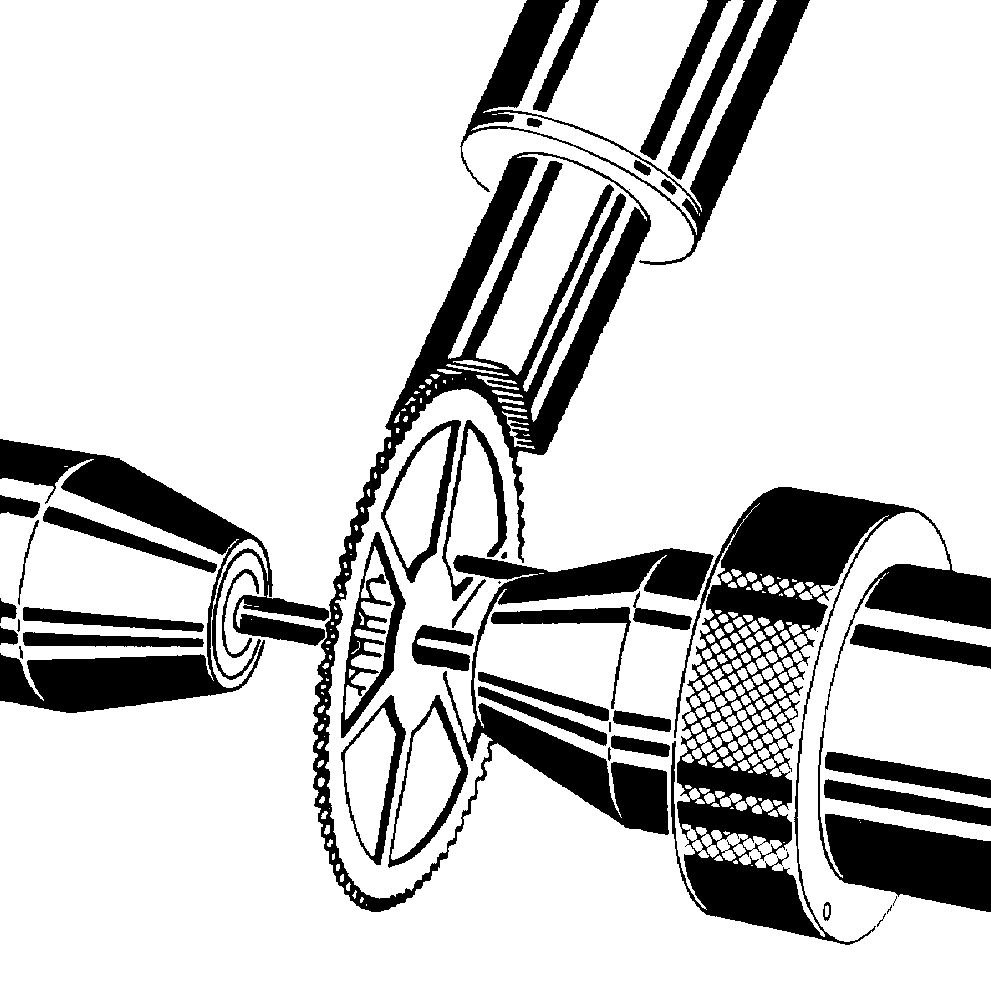
The following can be tested: watch wheels with or without pins - drives - turning parts - counter axles - counter wheels - washers - milling, etc.
This bronze base is heavy enough to ensure a fixed position without being attached to the workbench.
The bearings of the broaches and crank shafts are made of hardened and then polished steel.
The broaches themselves are affixed by pressure in the middle part of the bearing.
The removable entrainers are driven by rotation of the attachment piece which is designed as a gear wheel and is rotated by the crank axle.
The achieved gear reduction is: 1/3.
The position of the dial gauge can be changed, both in the direction towards and away from the part to be measured, as well as horizontally (parallel to the broach axes), in order to be able to measure axles, drives, rotating parts, etc. in various lengths.
The precision dial gauge has a very light measuring bolt with a probe made of steel in a semicircular shape.
Measuring pressure: weak.
Measuring range: dia. 0 - 20 mm.
Includes:
9 sets of 2 broaches each, made of hardened and then polished steel with jewel bearings of the following hole diameter:
dia. 0.09 - 0.10 - 0.12 - 0.14 - 0.16 - 0.18 - 0.20 - 0.22 - 0.24 mm.
These broaches are used as a bearing when testing watch wheels with pins.
1 set of 2 steel broaches with conical tip 30° for testing drilled rotating parts.
1 set of 4 entrainers of various diameters.
1 set of 2 steel broaches, inner cone, for accommodation of 16 inserts with pins.
1 set of 16 inserts with pins of the following diameters:
0.25 - 0.30 - 0.35 - 0.40 - 0.45 - 0.50 - 0.55 - 0.60 - 0.65 - 0.70 - 0.75 - 0.80 - 0.85 - 0.90 - 0.95 - 1.00 mm
for testing wheels and discs.
1 set of 4 inserts with conical hole (60°) for testing rotating parts.
